singer handheld sewing machine instruction manual
Singer Handheld Sewing Machine Instruction Manual: A Comprehensive Guide
This comprehensive guide provides detailed instructions for operating various Singer handheld sewing machines, including models 351G, 14HD854, and S0705.
Access essential manuals in PDF format, covering safety precautions, basic operation, and advanced techniques for optimal performance and longevity.
Welcome to the world of portable sewing! The Singer handheld sewing machine offers a convenient and versatile solution for quick repairs, alterations, and crafting projects. This manual serves as your guide to unlocking the full potential of your machine, regardless of whether you own a classic 351G, a robust 14HD854 overlock, or a modern S0705 model.
Singer has a rich history of innovation in sewing technology, and these handheld machines continue that tradition by providing reliable performance in a compact format. This guide will walk you through everything from initial setup and threading to mastering various stitch types and troubleshooting common issues.
Understanding your machine’s capabilities is key to achieving professional-looking results. We’ll cover essential safety precautions, detailed operating instructions, and maintenance tips to ensure your Singer handheld sewing machine provides years of dependable service. PDF manuals are readily available for specific models, offering further detailed support.
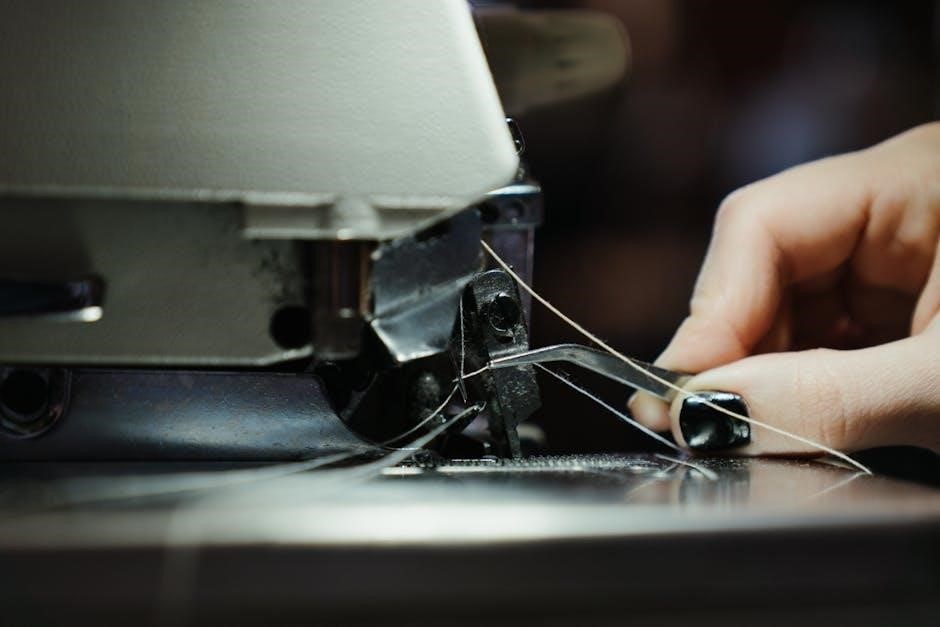
Understanding the Machine’s Components
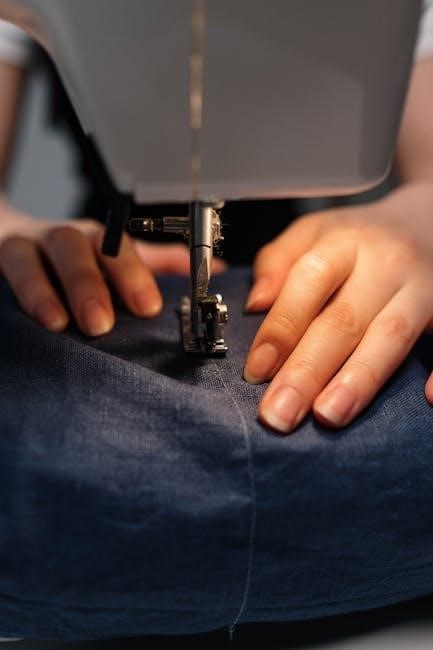
Familiarizing yourself with the parts of your Singer handheld sewing machine is crucial for effective operation and maintenance. Key components include the power switch, handwheel, needle clamp, presser foot, and bobbin winder. The 14HD854 overlock model will have additional components specific to its function, such as loopers and knives.
The bobbin case and tension dial are vital for stitch quality, while the stitch length and width controls allow for customization. Models like the 351G and S0705 feature similar, though potentially subtly different, arrangements of these controls. Refer to your specific model’s PDF manual for a detailed diagram.
Understanding how these parts interact will enable you to troubleshoot issues and perform routine maintenance effectively. Proper identification of each component, as outlined in the user guide, is the first step towards mastering your Singer machine and achieving optimal sewing results.
Safety Precautions
Prioritizing safety is paramount when operating your Singer handheld sewing machine. Always disconnect the power source before performing any maintenance, such as changing the needle or cleaning. Never insert your fingers into the sewing area while the machine is running, even for models like the 351G or S0705.
Keep the machine out of reach of children and ensure adequate ventilation during use. Use only genuine Singer accessories and parts, as incompatible components can pose a safety hazard. The 14HD854 overlock machine, with its fast-moving blades, requires extra caution.
Always refer to the user manual (PDF) for specific safety guidelines related to your model. Regularly inspect the power cord for damage and avoid operating the machine in damp environments. Following these precautions will ensure a safe and enjoyable sewing experience.

Getting Started: Basic Operation
Begin your sewing journey by familiarizing yourself with the fundamental steps: threading, bobbin winding, and insertion – crucial for models like the 351G and S0705.
Threading the Machine
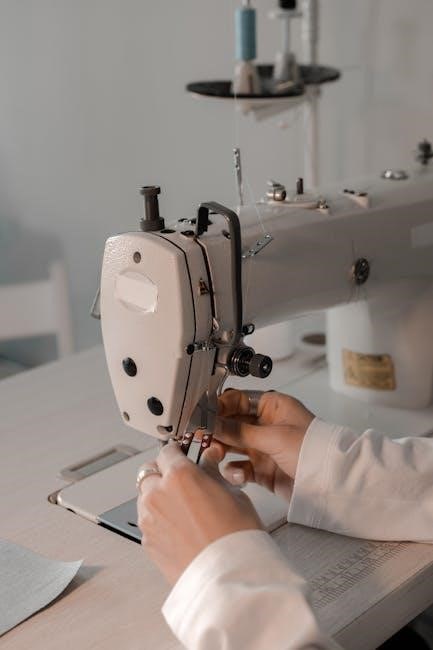
Proper threading is essential for successful sewing with your Singer handheld machine; Begin by ensuring the machine is turned off and the presser foot is raised. Guide the thread from the spool pin, through the first thread guide, and then down to the tension discs – ensuring it seats firmly between them.
Next, lead the thread through the take-up lever, and then down to the needle clamp. Thread the needle from front to back. For optimal results, use the correct needle size for your fabric. Always double-check that the thread is correctly seated in all guides and the tension discs.
Refer to your specific model’s manual (351G, 14HD854, or S0705) for detailed diagrams, as threading paths can vary slightly. Incorrect threading can cause skipped stitches or tension issues. A properly threaded machine ensures smooth and consistent stitching.
Winding the Bobbin
Winding the bobbin correctly is crucial for consistent stitch quality. Place the spool of thread on the spool pin and guide the thread through the designated thread guide for bobbin winding. Then, thread the end of the thread through a hole in the bobbin, ensuring it’s securely held.
Place the bobbin onto the bobbin winder spindle and gently push it to the right to engage the winding mechanism. Depress the foot pedal to start winding; the machine will automatically stop when the bobbin is full.
Always use the correct bobbin type for your Singer model (351G, 14HD854, or S0705). Overfilling or underfilling the bobbin can lead to tension problems. Consult your machine’s manual for specific bobbin winding instructions and diagrams for optimal results.
Inserting the Bobbin
Proper bobbin insertion is vital for smooth sewing. Locate the bobbin case – its position varies depending on your Singer model (351G, 14HD854, or S0705). Open the bobbin case cover and carefully insert the wound bobbin, ensuring the thread unwinds in the correct direction, typically clockwise or counter-clockwise as indicated in your manual.
Guide the thread through the tension spring of the bobbin case and then through the thread guide slot. Gently pull a few inches of thread out of the bobbin case. Close the bobbin case cover securely.
Ensure the bobbin is seated correctly and the thread flows freely. Incorrect insertion can cause skipped stitches or thread bunching. Refer to your specific model’s manual for detailed diagrams and instructions.
Stitch Selection and Adjustment
Explore diverse stitch options available on your Singer machine, and learn to adjust stitch length and width for varied projects, ensuring optimal fabric compatibility.
Types of Stitches Available
Singer handheld sewing machines offer a range of stitches to accommodate diverse sewing needs. While specific stitch availability varies by model – such as the 351G, 14HD854 overlock, and S0705 – common options include straight stitch, zigzag stitch, and potentially others depending on the machine’s capabilities.
The straight stitch is fundamental for constructing seams and general fabric joining. Zigzag stitches provide elasticity and are ideal for finishing raw edges, creating decorative elements, and sewing knit fabrics. Overlock machines, like the 14HD854, specialize in serging, creating a professional finish that encases the fabric edge to prevent fraying.
Understanding your machine’s stitch selection dial or settings is crucial. Refer to your specific model’s manual (available in PDF format online) to identify each stitch and its intended purpose. Experimenting with different stitches on scrap fabric will help you master their applications and achieve desired results in your sewing projects.
Adjusting Stitch Length and Width
Precise control over stitch length and width is essential for achieving professional-looking results with your Singer handheld sewing machine. These adjustments directly impact the strength, appearance, and suitability of stitches for different fabrics and applications.
Stitch length determines the distance between individual stitches. Shorter stitch lengths are ideal for delicate fabrics and intricate details, while longer lengths are suitable for heavier materials and quicker sewing. Stitch width controls the breadth of zigzag stitches, influencing their elasticity and decorative effect.
Locate the corresponding dials or settings on your machine (consult your PDF manual for model-specific guidance). Begin with test stitches on scrap fabric, gradually adjusting the length and width until you achieve the desired outcome. Remember that optimal settings vary based on fabric type, thread weight, and project requirements.
Tension Control
Maintaining proper thread tension is crucial for forming balanced and secure stitches with your Singer handheld sewing machine. Incorrect tension leads to looping, puckering, or broken threads, compromising the quality of your work. Refer to your specific model’s manual (PDF format available online) for detailed instructions, as tension mechanisms vary.
Upper tension controls the tightness of the needle thread, while lower tension adjusts the bobbin thread. Begin with the recommended settings outlined in your manual. Test stitch on scrap fabric and observe the stitch formation. If the needle thread pulls the bobbin thread to the underside, decrease upper tension. Conversely, if the bobbin thread appears on top, increase upper tension.
Fine-tune adjustments gradually, making small changes and retesting after each adjustment. Consistent tension ensures durable and aesthetically pleasing seams.
Advanced Techniques
Mastering diverse fabrics and troubleshooting common issues elevates your sewing skills. PDF manuals offer guidance on needle replacement and achieving professional results.
Sewing Different Fabric Types
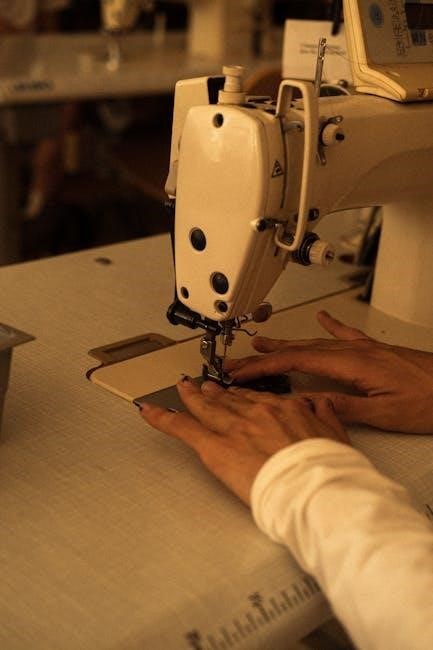
Successfully navigating various fabrics requires adjustments to your Singer handheld sewing machine. Lighter fabrics, like silk or chiffon, necessitate finer needles and reduced thread tension to prevent puckering and ensure delicate seams. Conversely, heavier materials – denim, canvas, or upholstery fabrics – demand robust needles, increased thread tension, and potentially slower sewing speeds.
Refer to your model’s manual (PDF versions available for 351G, 14HD854, and S0705) for specific recommendations regarding needle size and thread weight for different fabric types. Experiment with stitch length; shorter stitches are ideal for lightweight fabrics, while longer stitches suit heavier materials. Always test on a scrap piece of fabric before commencing your project to fine-tune settings and achieve optimal results. Proper needle selection is crucial to avoid damage to both the fabric and the machine.
Consider using a walking foot for challenging fabrics like velvet or multiple layers, as it provides even feed and prevents shifting. Understanding fabric properties and adapting your sewing technique accordingly will unlock the full potential of your Singer machine.
Troubleshooting Common Problems
Encountering issues with your Singer handheld sewing machine is common, but often easily resolved. Thread bunching typically indicates incorrect threading, improper tension, or a poorly wound bobbin – revisit the threading instructions (available in your model’s PDF manual: 351G, 14HD854, S0705). Skipped stitches often signal a dull or incorrectly inserted needle; replace it and ensure it’s securely fastened.
If the machine jams, stop immediately, remove the fabric, and carefully clear any tangled threads or debris. A broken needle requires immediate replacement to prevent further damage. Consult your user manual for detailed diagrams and troubleshooting steps specific to your model.
Persistent problems may indicate a need for cleaning or lubrication. Always unplug the machine before performing any maintenance. Remember, regular maintenance, as outlined in the manual, prevents many issues and extends the life of your Singer machine.
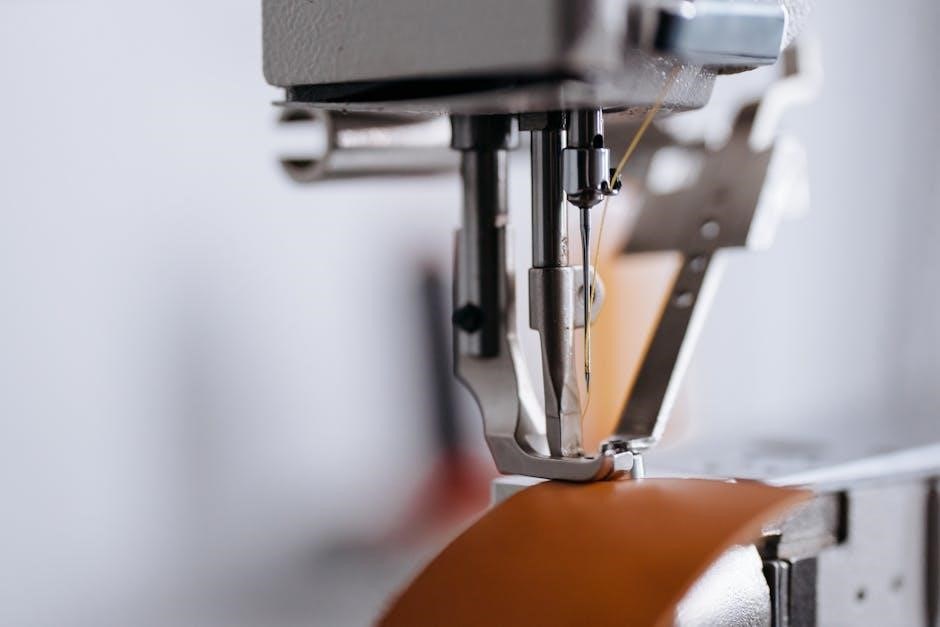
Replacing the Needle
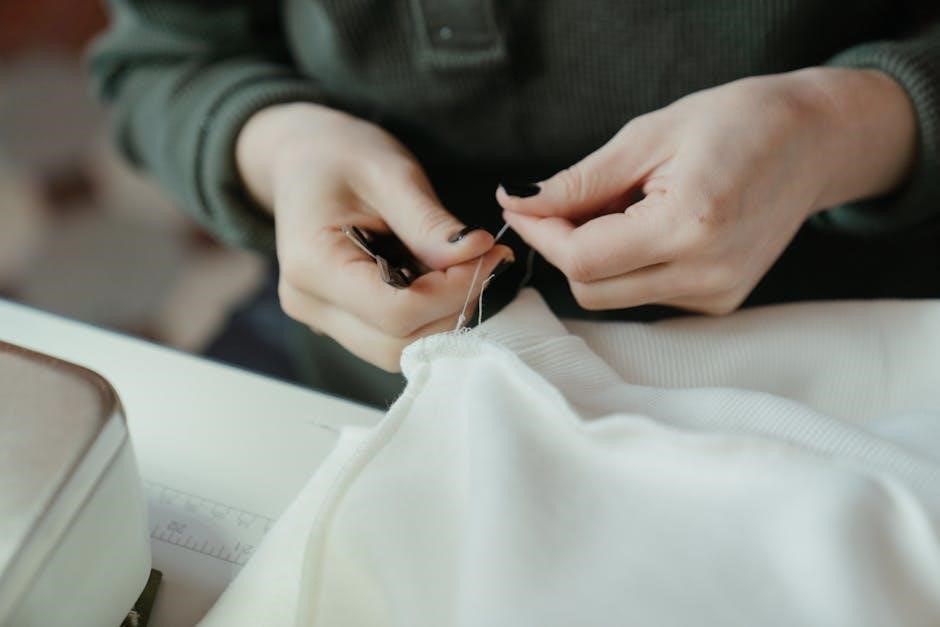
A dull or broken needle significantly impacts stitch quality and can damage fabric. Always power off and unplug your Singer handheld sewing machine before attempting a needle replacement. Locate the needle screw (refer to your model’s PDF manual – 351G, 14HD854, or S0705 – for specific location).
Loosen the screw with a screwdriver and carefully remove the old needle. Insert the new needle with the flat side facing the back, ensuring it’s pushed fully into the needle clamp. Tighten the screw securely, but avoid over-tightening.
Always use the correct needle type for your fabric. Your manual details appropriate needle sizes and types. Regularly inspect your needle for damage and replace it proactively to maintain optimal sewing performance and prevent potential issues.

Maintenance and Care
Regular cleaning and lubrication, as detailed in your Singer PDF manual (models 351G, 14HD854, S0705), ensure longevity and peak performance of your machine.
Cleaning the Machine
Maintaining a clean sewing machine is crucial for smooth operation and preventing malfunctions. Always disconnect the power source before commencing any cleaning procedures. Utilize a soft brush, often included with your Singer model (351G, 14HD854, S0705), to remove lint and dust from the bobbin area, feed dogs, and surrounding components.
For stubborn debris, a small vacuum cleaner attachment can be employed, exercising caution not to damage delicate parts. Avoid using compressed air, as it can push dust further into the machine. Periodically wipe down the exterior surfaces with a slightly damp cloth; avoid harsh chemicals or abrasive cleaners. Refer to your specific PDF manual for detailed cleaning diagrams and recommendations tailored to your Singer handheld sewing machine. Proper cleaning extends the machine’s lifespan and ensures consistent stitch quality.
Lubrication
Proper lubrication is vital for maintaining the smooth operation of your Singer handheld sewing machine (models 351G, 14HD854, S0705). However, modern Singer machines often require minimal oiling, and over-lubrication can attract dust and cause issues. Consult your specific PDF user manual for precise lubrication points and recommended oil types.
Typically, a few drops of sewing machine oil applied to the bobbin race and hook area are sufficient. Avoid lubricating the feed dogs or tension discs. Use a needle oiler for precise application, preventing excess oil from dripping onto other components. Regularly check the oil levels and reapply as needed, especially after extended use. Incorrect lubrication can lead to friction, noise, and ultimately, machine failure. Always prioritize the guidance provided in your machine’s manual.
Storage
Proper storage significantly extends the life of your Singer handheld sewing machine (models 351G, 14HD854, S0705). Always store the machine in a clean, dry environment, protected from dust, humidity, and extreme temperatures. Utilize the original dust cover, if available, or a comparable protective case.
Before long-term storage, ensure the machine is thoroughly cleaned and lightly oiled (refer to the Lubrication section). Disconnect the power cord and remove any accessories. Store the foot pedal and accessories alongside the machine. Avoid storing the machine in attics, basements, or garages where temperature fluctuations and humidity are common. Regularly check the stored machine for any signs of corrosion or damage. Refer to your PDF manual for model-specific storage recommendations.
Specific Model Variations (Based on Available Information ー Singer 351G, 14HD854, S0705)
Explore detailed guides for Singer models 351G, 14HD854, and S0705, available as PDF manuals, offering unique operational insights and specific maintenance procedures.
Singer 351G-131M-04EA-08 Specifics
The Singer 351G-131M-04EA-08 is a robust industrial sewing machine, and its user manual, available in PDF format, is crucial for optimal operation. This model requires a thorough understanding of its components and settings for efficient performance.
Key areas covered in the manual include detailed threading instructions, bobbin winding techniques, and precise tension adjustments. Proper needle selection is also emphasized, alongside guidance on troubleshooting common issues like skipped stitches or thread breakage.
Maintenance is paramount; the manual outlines cleaning procedures and lubrication schedules to ensure longevity. Users will find specific diagrams and explanations tailored to this particular model, maximizing its lifespan and sewing quality. Safety guidelines are also prominently featured, ensuring a secure working environment.
Understanding the unique features of the 351G-131M-04EA-08, as detailed in the manual, allows for tackling diverse fabric types and sewing projects with confidence.
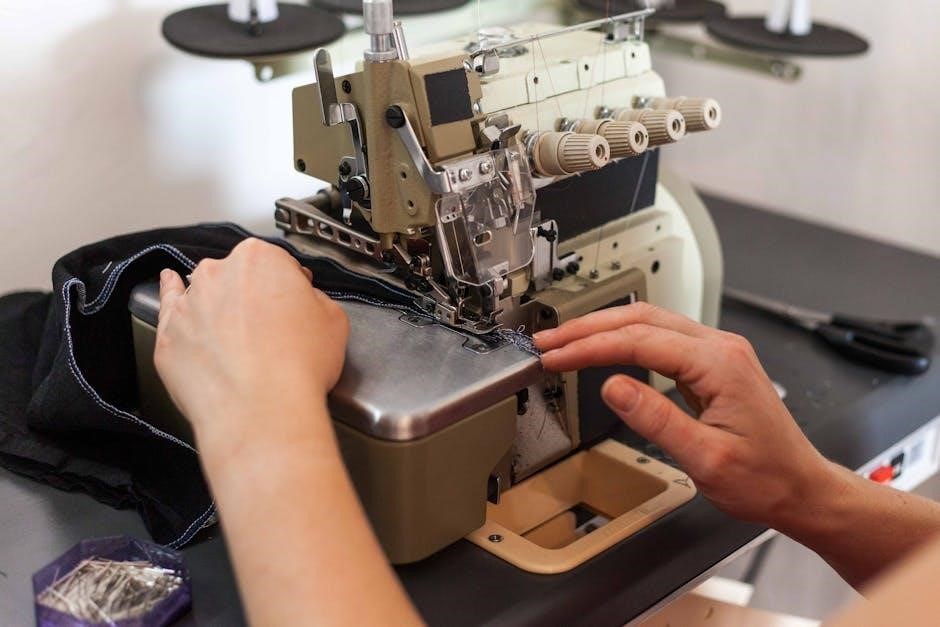
14HD854 Overlock Machine Details
The Singer 14HD854 is a dedicated overlock machine, designed for professional-quality seam finishing. Its PDF user guide provides essential instructions for harnessing its capabilities. This model excels at creating durable, neat seams, preventing fabric fraying, and enhancing garment construction.
The manual details specific threading paths for each looper – upper, lower, and chain – crucial for achieving balanced overlock stitches. It also covers differential feed adjustments, allowing users to control fabric gathering or stretching during sewing.
Troubleshooting sections address common issues like uneven stitches or looper jams, offering clear solutions. Proper maintenance, including regular cleaning and oiling, is emphasized to ensure smooth operation and longevity. Safety precautions specific to overlock machines are also highlighted.
Mastering the 14HD854, with guidance from its manual, unlocks the ability to create professional finishes on a wide range of fabrics, from delicate knits to heavy denim.
S0705 User Guide Highlights
The Singer S0705 user guide, available in PDF format, focuses on simplifying operation for beginners while offering advanced features for experienced sewers. Key highlights include detailed diagrams illustrating proper threading techniques, essential for preventing skipped stitches and ensuring consistent performance.
The manual emphasizes stitch selection, explaining the purpose and application of each stitch available on the machine. It provides guidance on adjusting stitch length and width to achieve desired results on various fabric types. Troubleshooting tips address common issues like thread breakage and needle jams.
Maintenance instructions are clearly outlined, covering cleaning procedures and lubrication points to prolong the machine’s lifespan. Safety precautions are prominently displayed, ensuring user safety during operation. The guide aims to empower users to confidently tackle a wide range of sewing projects.